


The Holy Trinity – Navigating the Bermuda Triangle of Standard
Hey everyone!
My name is Vig, and in my first piece for Ace Trainer Australia, I’m going to share some of my thoughts on the Necrozma/Malamar archetype and the triangular meta that we find ourselves in as we come to the close of the 2017/18 season.
A quick note of my history in the game – I have played the game competitively for five years; I am a multiple time Worlds competitor and over the years, I’ve picked up Top 8 or above placings at quite a few large events.

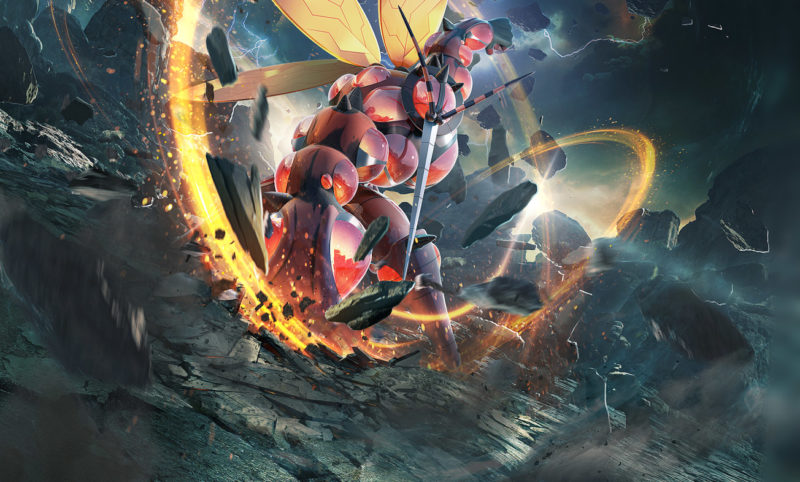
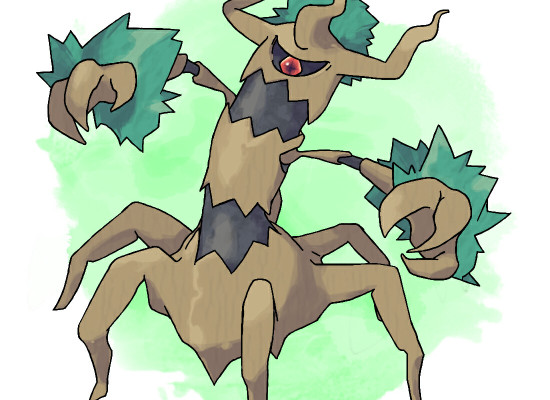
For most of us, the last round of League Cups and special events this month are in full swing with NAIC and Worlds on the horizon. In this time, Malamar variants, Buzzwole decks, and Zoroark variants have quite firmly placed themselves in the Tier-1 category. It is therefore crucial for those of us chasing their last few points in time for Worlds to know how to navigate through the matchups within the Holy Trinity. Coming into Forbidden light, it was clear that Malamar variants would be strong. The Psychic typing, in particular, is great given the prevalence of Buzzwole decks in the meta. However, the new variant of Buzzwole showcased by Igor Costa changes the way in which Malamar players need to approach deck building and general strategy.
Zoroark variants, on the other hand, have inherent advantages in the Malamar match-up. Obviously hitting Dawn Wings Necrozma GX for weakness helps, but in addition to having Psychic resistance, Zoroark decks boast consistency due to the sheer draw power that the deck has. While there aren’t too many ways to stifle Zoroark’s draw engine itself when playing Malamar, there are a few ideas that Psychic deck pilots can employ to maneuver through the match-up.
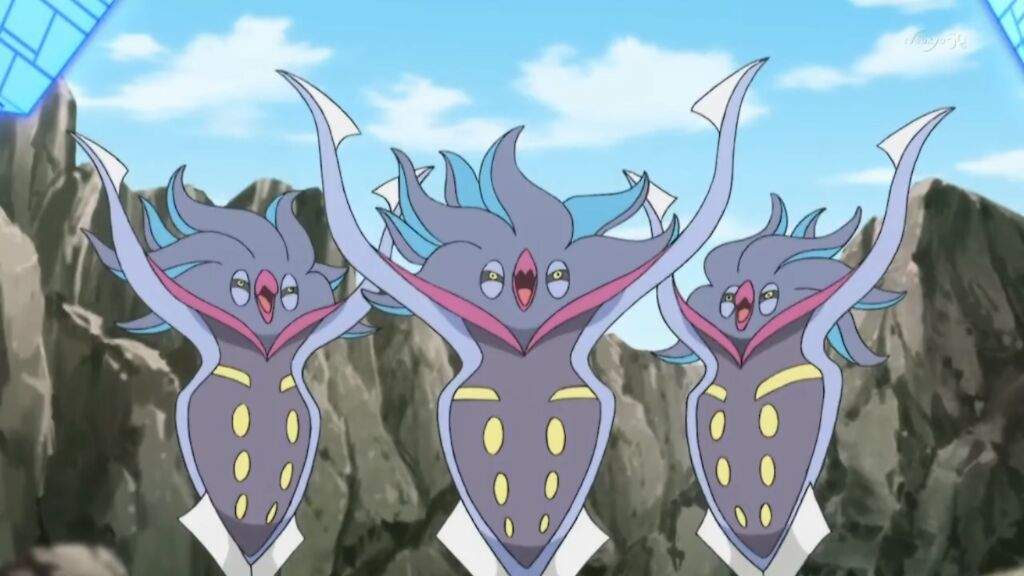
Breaking through the Trinity with Squids
The key strength of the “new” variant of Buzzwole is the ability to abuse strong, low-cost attackers that trade prizes efficiently. High counts of Buzzwole (FLI 77) in particular are troublesome to deal with and coupled with cards such as Beast Energy and Beast Ring, even Psychic type archetypes will have issues when going into the match-up unprepared.
It is important to recognize Buzzwole’s Sledgehammer attack and to be careful to play around it. While the momentum in the game might be even for the first couple of prizes, a boosted Sledgehammer attack on an undamaged, 2 prize Pokémon is often the start of Malamar’s downfall in the matchup. Therefore, it is crucial to try one’s best to skip from 5 prizes to 3 with a KO on a 2-prize attacker and ideally, to play around the threat entirely by using non-GX Psychic-type attackers.
However, in my experience, simply doing so is not going to be enough to win the game due to the prevalence of Beast Ring. Forcing your opponent to go down to 4 prizes is one of the strongest plays a Buzzwole player can make. As a Malamar player, it is often better to not take the 1 prize to go down to 4 given the risk it poses in doing so. Going from 5 prizes to 3 in one swoop has the added benefit of limiting Beast Ring turns for your opponent.
Additionally, it is important to seek favorable trades when piloting Malamar and an efficient way to do so is the new Mewtwo promo (SM77). Mewtwo’s Pressure Ability grants it some survivability (crucial vs. decks such as Greninja and Zoroark) and the vanilla 100 damage attack hits Buzzwole decks for OHKOs. Similar to a Buzzwole player’s strategy, only benching non-GX attackers and trading 2 prizes for 1 is a good way to come out on top in the matchup. Interestingly when paired with Giratina promo, Mewtwo almost single-handedly sweeps through Greninja decks for 2 hit KOs while the Greninja player is limited to only 20 damage a turn with Shadow Stitching, making a nearly unwinnable match-up into one that is truly favorable. Hoopa (SSI 51) is an alternative to consider since like Mewtwo, Hoopa has some survivability against Zoroark and Buzzwole decks, and can soften up key targets such as the Greninja line or Rockruff, to bring them within range of other complementary attackers.
League Cup Report
I decided to take a Necrozma/Malamar variant to the Baydragon League Cup in Auckland, New Zealand this past weekend. For most of us in attendance, it was a chance to test and refine our decks for the upcoming Auckland Special Event. Going into the tournament, my focus was firmly on the Holy Trinity and I believe given the strength of these archetypes, you need to play one of these decks in order to do well at any tournament. A bit of knowledge of the Auckland player-base led me to believe there would be few Zoroark decks to worry about and therefore Necrozma/Malamar was an easy choice for me.
R1: Necrozma GX /Malamar – LWT (0-1-0)
R2: Greninja – WW (1-1-0)
R3: Buzzwole / Lycanroc GX – WLT (1-2-0)
R4: Zoroark GX /Golisopod GX – WW (2-2-0)
T4: Buzzwole / Lycanroc GX – WLW (3-2-0)
T2: Buzzwole / Lycanroc GX – WW (4-2-0)
The games that I played were straightforward; it often comes down to using non-GX attackers efficiently to win in the mirror or the Buzzwole matchup. The Greninja match-up was smooth due to the aforementioned Mewtwo/Giratina combo. Zoroark/Golisopod did pose some challenge, however, the high counts of Pokemon search cards in my build allowed me to rush the Zoroark match-up to sweep with Necrozma GX. It also helped that in game 1, my opponent struggled to find Double Colourless Energy to hit for some damage early on.
For those interested, the list that I piloted was very similar to Ryan Bentley’s 3rd place list from Melbourne Regionals last month. (http://limitlesstcg.com/decks/?list=1006)
Looking forward to the Special Event and the North American International, I would expect to see a few more Zoroark GX based decks given the success the archetype saw at Sheffield Regionals.
In my opinion, Buzzwole will remain the strongest contender of the trio but a well piloted Malamar build is more than capable of dealing with the threats that these other decks pose.

 The 5000IQ approach to the ...August 30, 2018An in-depth guide to Metagross in the new format Hello ...
 We Wanna Be The Very ...August 20, 2018We Wanna Be The Very Best Like No One Ever ...
 Dunsparce: Nostalgia Goggles or The ...August 10, 2018With Celestial Storm hitting store shelves, everyone’s busy running around ...

Leave a reply