


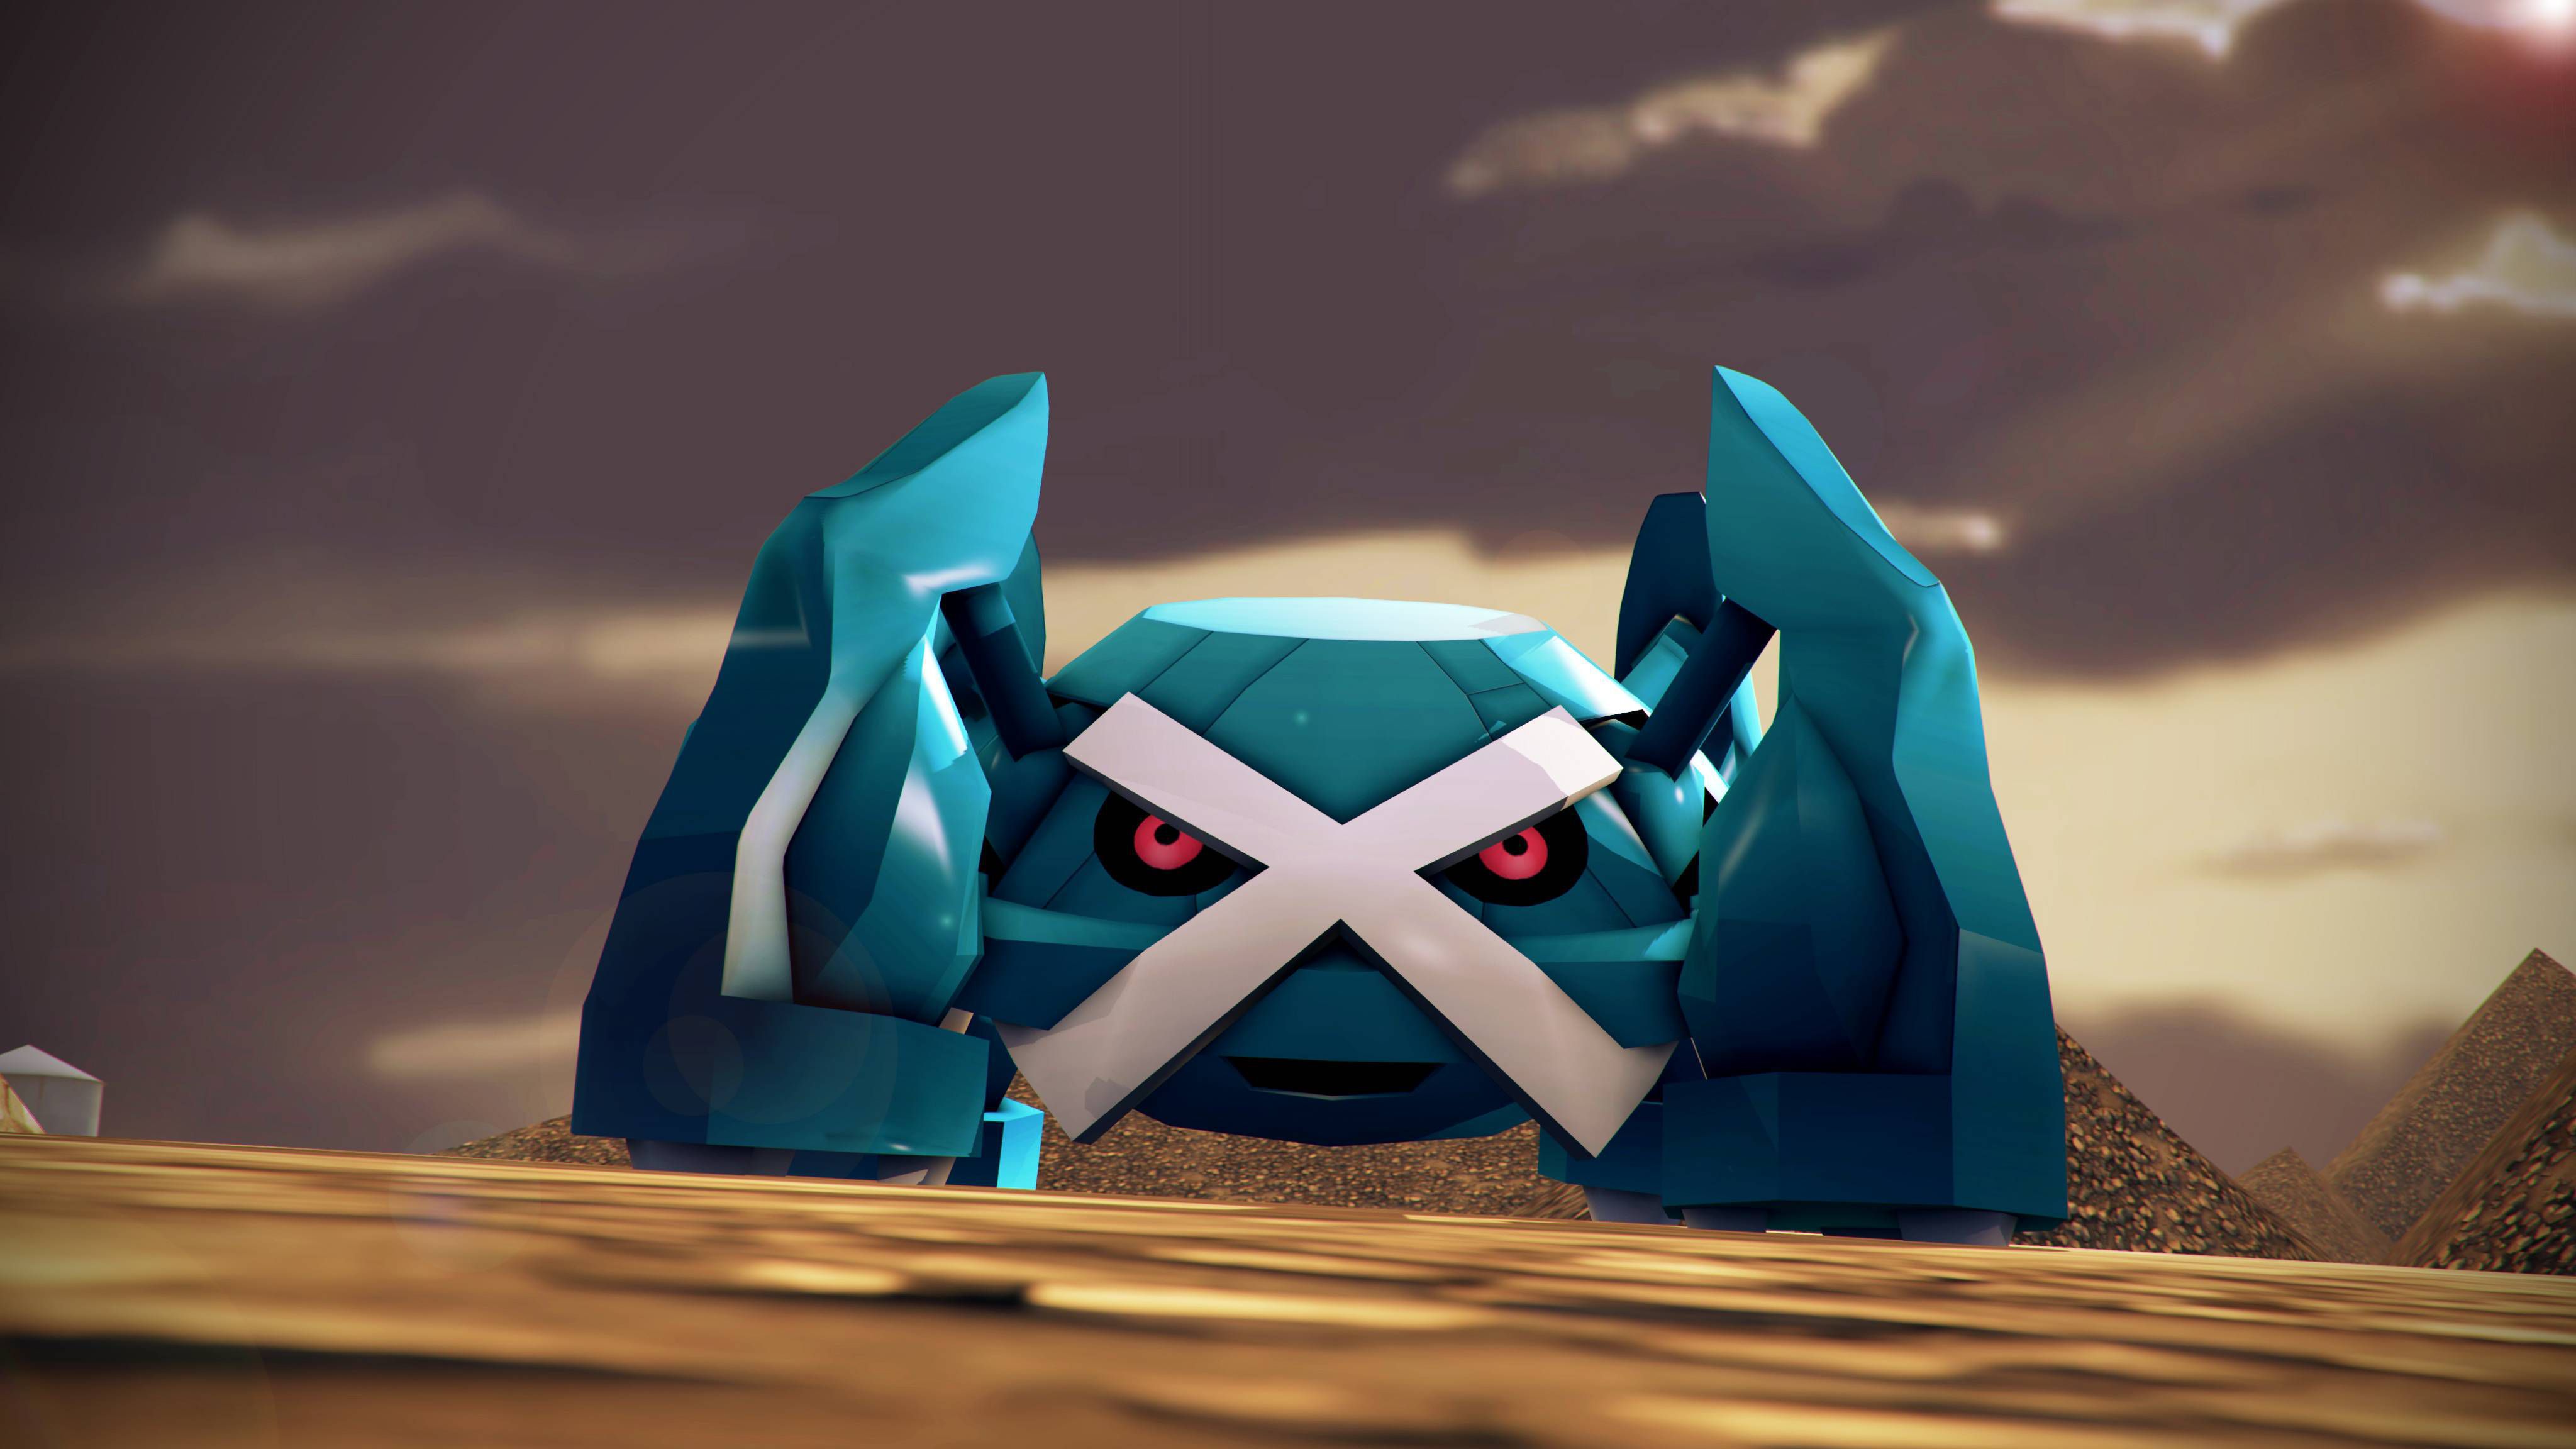
The 5000IQ approach to the 5000IQ Pokemon
An in-depth guide to Metagross in the new format
Hello all! It’s been a little bit since I’ve made an article but with the 2018/2019 Rotation recently occurring and with the Melbourne Special event coming up this weekend, I thought I’d talk about a deck I believe has potential going into this weekend. When thinking of decks that become better after rotation, I first looked at decks that I thought had potential before rotation but may fall short due to some popular card choices/ decks. With N not being a problem, stage 2 decks become a lot stronger as you aren’t crippled late game by a KO plus N to 2. With a whopping 250 HP and 2 very strong attacks, as well as an amazing support ability, Metagross seemed the perfect place to start my testing. After around 16-20 sets against various decks including Zoroark Lycanroc, Rayquaza, Ultra Necrozma, Greninja Latios, Beast Box and some other off the wall decks such as Garchomp Lucario and Quad Hoopa, this was the list that was formulated.
The List:
4x Beldum (GRI)
1x Metang (GRI )
4x Metagross GX
2x Tapu Lele GX
1x Dusk Mane Necrozma (Promo)
1x Mimikyu (GRI)
1x Dhelmise
4x Cynthia
4x Guzma
1x Lillie
1x Judge
1x Volkner
4x Ultra Ball
4x Acro Bike
4x Rare Candy
4x Max Potion
3x Order Pad
2x Choice Band
2x Nest Ball
1x Field Blower
1x Rescue Stretcher
1x Pal Pad
7x Metal Energy
2x Psychic Energy
Card Choices:
4x Guardians Rising Beldum
Deciding which Beldum to use was quite a tough decision as the 3 Beldums available have their own strengths and weaknesses. The main decision for running the Guardians Rising Beldum is due to its Core Beam attack which I have found both an excellent way of getting energy in the discard and easy way to set up KOs on pokemon with 210 HP. The other 60 HP Beldum from Celestial Storm has some merit and was originally a 4 of in the deck but after having a discussion about what Beldum to use, it became pretty clear that having free retreat on Beldum was largely useless as there is barely any turn 1 attacks that would be impactful enough to be included in the deck. In almost every situation, I would rather get another Beldum out with my Nest/ Ultra Ball than a turn 1 set up attacker which becomes a liability on the bench if a Beldum was Guzma KOd regardless. The 70 HP one also has a worse attack and 3 retreat means it is an easy target for a Guzma stall. Not to mention that 70 damage isn’t a number that is that prevalent anymore with Buzzwole become rather irrelevant (Especially if they can only max out at 50 damage Jet Punches without the use of Beast Energy)
1x Guardians Rising Metang
Some other lists I’ve seen float around are playing a much heavier line of Metangs but in testing, I found it largely useless if you can skip that stage altogether and just rare candy straight into Metagross. It’s very reasonable to be able to evolve all your Metagross solely with Rare Candy due to how the deck is designed (Not to mention if your opponent doesn’t judge your algorithm and can’t KO a Beldum, you can just get 3 Metagross out on Turn 3.
1x Dusk Mane Necrozma Promo
Added mainly for the Zoroark matchup, this card is a very powerful inclusion and opens up a lot of plays in terms of setting up KOs on things that Metagross would otherwise struggle to KO (eg. Naganadel, Zoroark, Lycanroc, Greninja, etc.). The second attack is also very powerful allowing an alternate attacker to Metagross and on the rare occasion that your opponent is at 1 prize remaining, It can very easily finish up a game with a Rusty Claws for 200 damage.
1x Mimikyu
Copying attacks is a luxury decks don’t often have. With the ability to play Psychic Energy in the deck due to Geotech System, the addition of Mimikyu makes matchups like Ultra Necrozma Malamar, Beast Box and Greninja much better. Filch is also a very strong attack if you start Mimikyu going second.
1x Dhelmise
Purely included for the Ultra Necrozma Matchup, Dhelmise allows Metagross to hit exactly 190 damage to one shot said Ultra Necrozma. Although I don’t believe this to be an integral part of the matchup as you should be focusing down Malamars, Dhelmise giving you the option to KO 3 GXs is also a viable win condition in certain situations. Although I am yet to use it, Anchor Shot can also be a really neat attack that could potentially trap a pokemon in the active for a turn to allow for a 2 shot. It can also allow Metagross to KO a Zoroark that was Core Beamed earlier in the game.
1x Volkner
Since Skyla rotates, Volkner is the next best supporter to replace it. Having a guaranteed out to Rare Candy that can be accessed with Wonder Tag has come in handy quite often to allow for a turn 2 Algorithm more often. It can also get other useful items such as Max Potion, Rescue Stretcher and Field Blower that would otherwise have to be drawn off a Cynthia or searched with using Order Pad, neither of which are consistent ways of accessing said items.
4x Max Potion
Due to Metagross having the highest amount of HP in the game, it seems natural to include 4 Max Potion to completely deny your opponent from taking prizes. It can sometimes become difficult if your opponent takes too many KOs on Metagross as setting up more in the late game becomes increasingly difficult so making sure they have the maximum staying power is important in surviving the late game.
1x Field Blower
With Parallel City and Garbotoxin Garbodor rotating, a decrease in Field Blowers in most lists will be quite common. The singular Field Blower was really good in testing against Wish Baton Rayquaza, especially since it’s likely they have to discard some with Stormy Winds. If more relevant tools and stadiums start to appear in decks, you could make an argument to increase this count, but currently, I think 1 is quite adequate.
1x Pal Pad
So many matchups rely on using Guzma to pick off weaker pokemon like Zorua, Rockruff, Malamar and other Beldums. Pal Pad gives you a safety net to have access to key supporters in the late game that you may be running low on (Usually Guzma).
2x Psychic Energy
Although very specific, the 2 Psychic Energy allows Mimikyu to 1 shot an Ultra Necrozma with a 3 Energy Photon Geyser and just generally allows for Mimikyu to be used more often compared to only have 1 Psychic.
Cards not included:
Apricorn Maker
I could see its potential in a Zoroark based deck as you generally need fewer cards to get your main attacker out but in Metagross, making sure you see as many cards as possible in the early turns is crucial in getting your Metagross out, therefore we left out Apricorn Maker and instead went for a heavy reliance on Lillie and Cynthia to allow you to reach for Metagross pieces early.
Vulpix/ Mawile/ Another turn 1 set up pokemon
Although the temptation of having a setup attacker is nice, you only use them 50% of games as if you go first, your first attack of the game should be Algorithm. In most scenarios as well, I would rather use my ball cards on Beldums instead of a setup attacker as its very likely if you only get 2 Beldums out and try and get an attack off with a setup pokemon, a bench Beldum will just be KO’d, putting you on the backfoot.
Dusk Mane Necrozma GX
It’s a tempting pick to include but unfortunately with 3 Retreat, it compromises your chances of turn 2 Algorithm if you start it. It’s also deceptively hard to power up, requiring you have at least 3 Metagross and a manual attachment to power up in 1 turn.
Ultra Necrozma GX + More Psychic Energy
This approach takes away from the main strategy of using Metagross as your main attacker which is not at all what the deck intends to do. If you want this approach to work, you would probably have to change the entire approach to the deck.
Matchups:
Zoroark Lycanroc (40-60)
This is probably your worst matchup. Assuming they play more healing cards than you (eg. 2 Acerola, 2 Pal Pad), they can run you out of Max Potion before you can even take a KO. They can also pick on Beldums early quite easily and have no problem Judging your Algorithm as they have trade to get out of a low hand size. Not to mention that if you have 4 or more Bench pokemon, a Diancie + Band means that Lycanroc can Dangerous Rogue a Metagross for a KO. Your saving grace is if they have to bench 2 Lele. Dusk Mane Necrozma is also a really good attacker as its hard for your opponent to KO it and it can snipe 60 to a Zoroark or Lycanroc to set up for a Giga Hammer KO.
Ultra Necrozma Malamar (60/40)
As mentioned before, denying their Malamars is really important as later on, the deck falls off once they run out of energy in the deck to use Beast Ring. I often found myself using Mimikyu to take KOs on Malamars as for 2 Energy you can do 100 damage with Photon Geyser. The math also works really well with Giga Hammer, Choice Band and Dhelmise in taking an exact KO on Ultra Necrozmas while denying prize cards with Max Potion if they don’t have a 4 Energy Ultra Necrozma, ready to take a KO on a Metagross. I would recommend taking this matchup slowly and waiting until you have 3 Metagross set up before you go into the Beast Ring turn(s) because if you cannot deny your opponents Beast Ring turns, they can easily run you over by taking consecutive KOs on Metagross’
Beast Box (70/30)
Similar to how you beat Ultra Necrozma, make sure you are prepared for Beast Ring by either taking a KO on the Dusk Mane Necrozma GX if they bench it, or putting damage on a Stakataka or Naganadel to deny your opponent any chance of getting multiple attackers set up. Mimikyu is also really good in this matchup because if they get greedy and use Meteor Tempest instead of Suns Eclipse GX, you can take a quick KO and essentially end the game as they have no reliable way of taking their last couple of prizes. This is all backed up by the fact that its very unlikely that they can Judge your Algorithm as they have to bench a Lele in the process, which makes the matchup even harder for them to win as they can’t threaten 2 hit KOs with a full bench of Ultra Beasts + Choice Band
Greninja Latios (65/35)
Due to the nature of playing 4 Max Potion, it makes it extremely hard for Greninja to take KOs on Metagross. Not to mention that if they ever use Haze Slash to shuffle back in, you can Guzma up a Frogadier, taking a KO and making it even harder for them to take a KO. Of course, this is assuming you hit your Max Potions when you need them and have an adequate setup. You really have no breathing room against this deck as the snipe damage can easily dismantle your board and makes it next to impossible to set up your Metagross’ if you don’t do it fast. Mimikyu is also a sneaky attacker if you want to shuffle some energy back in the deck (Assuming the Greninja player used Haze Slash the previous turn).
Conclusion:
Unchecked, this deck can completely run over just about every deck in the format. With the most HP in the game coupled with 2 very strong attacks and an amazing support ability and Metagross is set up to be a tier one deck going into the Melbourne SPE and beyond.
Thanks very much for reading, please check me out on twitter at @pkmnMattyB
Related Posts

2 comments
Leave a reply
 The 5000IQ approach to the ...August 30, 2018An in-depth guide to Metagross in the new format Hello ...
 We Wanna Be The Very ...August 20, 2018We Wanna Be The Very Best Like No One Ever ...
 Dunsparce: Nostalgia Goggles or The ...August 10, 2018With Celestial Storm hitting store shelves, everyone’s busy running around ...

Craig August 30, 2018 at 10:08 pm
For budget players, what would you recommend as a placeholder for a 2nd Lele GX?
Matt August 31, 2018 at 1:19 am
Think about including Kukui here.
CB+Dhelmise on Bench+Kukui = OHKO on Zoroark – they won’t expect that.